Halloween Apothecary

A super cute and fun Halloween apothecary DIY; poison, love & flying potions, unicorn tears, fairy dust, disappearing air... anything goes! Click through for tutorial.

I am so unbelievably psyched right now (and a little ahead, but I just couldn't wait!). I've been thinking about this project for EVER and it's finally done. Isn't it just cool? Magic potions guys. MAGIC! Anyone want to fly? Fall in love? Well...you're in for a treat because today, it's all possible! Just don't drink the poison ok?

I've been collecting all sorts of different glass bottles. Ketchup bottles, essence bottles, oil dispensers, maple syrup jars, soya sauce bottles, fizzy water bottles... even alcohol bottles (that others give me because I don't drink).

With a sprinkle of Fairy Dust and a Unicorn's Tear, let me present to you my new favorite Halloween decoration, the Apothecary, magical potions included! Right now I'm using it as a table center but come Halloween, this baby's going to be next to my big cauldron full of candy.

I love Halloween. It's the only time of the year where you can get crazy creative and have no one judge you. Always wanted to be a princess? No problem. Prefer being a naughty nurse. You got it. Secretly think you're a spy? Live it out! Personally, I'd love to dress up Steampunk with a big pouffy dress.

Halloween apothecary.

Materials

Glass bottles
Water
Food dye
Glitter
Beads
...and anything else you'd like to put in your bottles

Materials for Halloween apothecary.
Food dye, glitters, jewels and dried flowers; materials for Halloween apothecary.
Glass bottle collection for Halloween apothecary.

Tools

Paper
Tags
Baker's twine
Scissors
Pen
Tape

Scissors, tape, paper, tags, pen and string; tools for Halloween apothecary.

Steps

1. The first thing you want to do is fill your bottles and jars. I filled mine with beads, dried flowers, glitter and of course, colored water. I left some empty as well, just for decor.

2. Next you want to identify your bottles. You wouldn't want to confuse the Poison with the Love Potion! I used tags for some, and for others I used props.

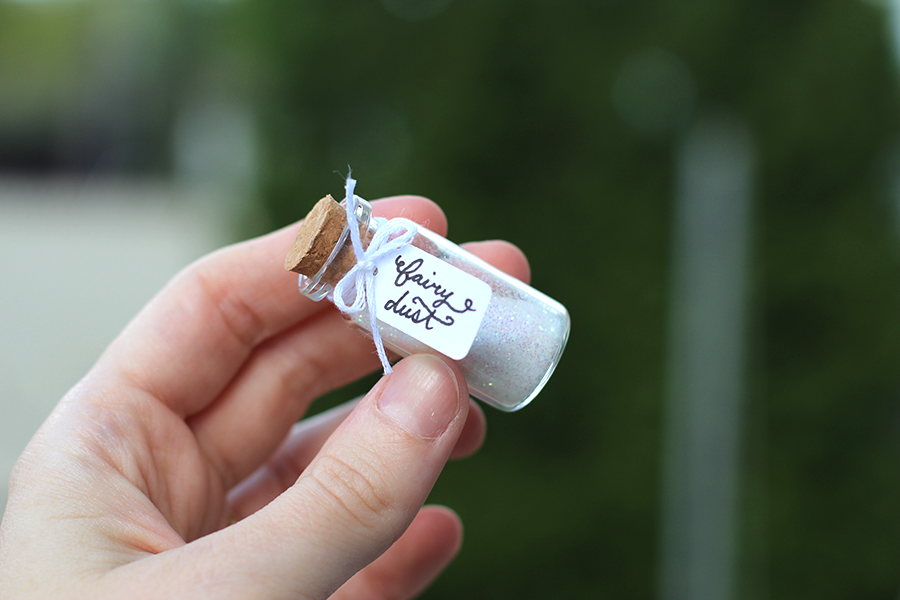
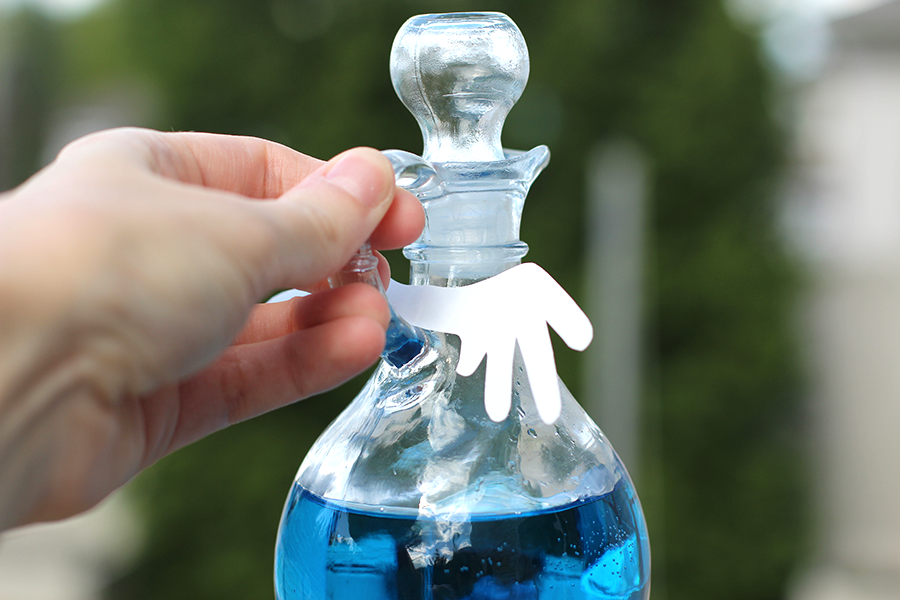
3. Decorate!! For the poison I added a skull on top of the jar. I got a whole bunch at the dollar store for a buck. I added a simple tag with pretty lettering for the fairy dust. Glitter!! Don't you just love glitter? And for the the flying potion I added some wings!

Add colored water, glitter, jewels and dried flowers to bottles.
Make labels and props to decorate the bottles.
Add plastic skull to poison bottle: death imminent!
Add a tag and string to the fairy dust bottle; it's magical!
Add some wings to the flying potion! Flying?!?!
A super cute and fun Halloween apothecary DIY; poison, love & flying potions, unicorn tears, fairy dust, disappearing air! Click through for tutorial.

So there you have it. A super cute and fun Apothecary! This Halloween DIY is super easy so even kids could jump in and decorate a few bottles. You could use a few plastic ones if you're concerned they might break them. You could even paint them. Be creative! :)

What kind of decor will you be making this Halloween?

Maple Banana Nut Breakfast Lentils

maple banana nut breakfast lentils recipe.jpg

A few days ago, I decided to try my luck at making lentils and you know what? They're ridiculously easy to make. Seriously. Just dump about 1/2 cup in a pot, add water about an inch over the lentils and boil until soft (you may need to add water as it's cooking). Adding a bit of salt as they're cooking adds flavor so I strongly suggest it, although not necessary.

So anyway, here I am, serving my lentils to my family, when my husband asks: "Hey sweety, are there any bananas left?" And I'm like: "Say-waaaaa? Bananas? In your lentils? Really?" He goes on to saying that's how he ate lentils at home, back in Mexico. So I figure, why not?

As I'm sure you've all guessed, I found it delicious; unusual, but delicious. The next morning, I decided to mix it up. I'm usually more of a toast person, boring I know, but quick and reliable! The only problem with toast is that it's not really long lasting energy and I always end up hungry 1 hour later. So you can guess what happened next... I decided to turn the left over lentils from the previous night's dinner into my protein packed breakfast. I wanted this to be a well balanced meal so with the fruit, I added some yogurt and sweetened it with some maple syrup. Oh goodness, what a treat it turned out to be.

Ingredients

Lentils (cooked)
Plain yogurt
Maple syrup (to taste)
Banana
Nuts (get creative)

maple banana nut breakfast lentils recipe ingredients.jpg

Just mix all the ingredients together and serve; warm or cold, it's just as good! Let me know what you think if you try it!

Do you have any unusual breakfast treats?

DIY: Decorative Cork Mobile

cloud cork mobile with stars.jpg

I don't know what it is with me and the moon, stars and the sky. I seem to associate everything about myself to that and am constantly inspired by it. My blog name, my personality, my studies (astrophysics), some of my preferred activities (lying in the grass staring at the sky and star gazing), my favorite quote (which can be found in the attribution right at the bottom of this page)... and even my decor ideas.

As part of our home decorating project, we ended up painting all of the bedrooms in our home powder blue because I find it peaceful... perfect for a bedroom don't you think? Anyway, every time I enter our bedrooms now, all I can think about is the sky, so I figured I could do some decorations around that concept. I originally wanted to do some sort of mobile for my baby, but seeing as his bedroom walls were completely bare (and he already had a mobile) I figured I could make something else with the materials I had.

Let me introduce to you, the cork wall hanging. Pretty sweet if you ask me. You can use any patterned fabric you like, and use anything you want for the falling strands (flowers, pompoms, leaves, charms). You can even pin things on the cork board if you want (like photos or notes)! This project is super easy to do, you could even ask your kids to help!

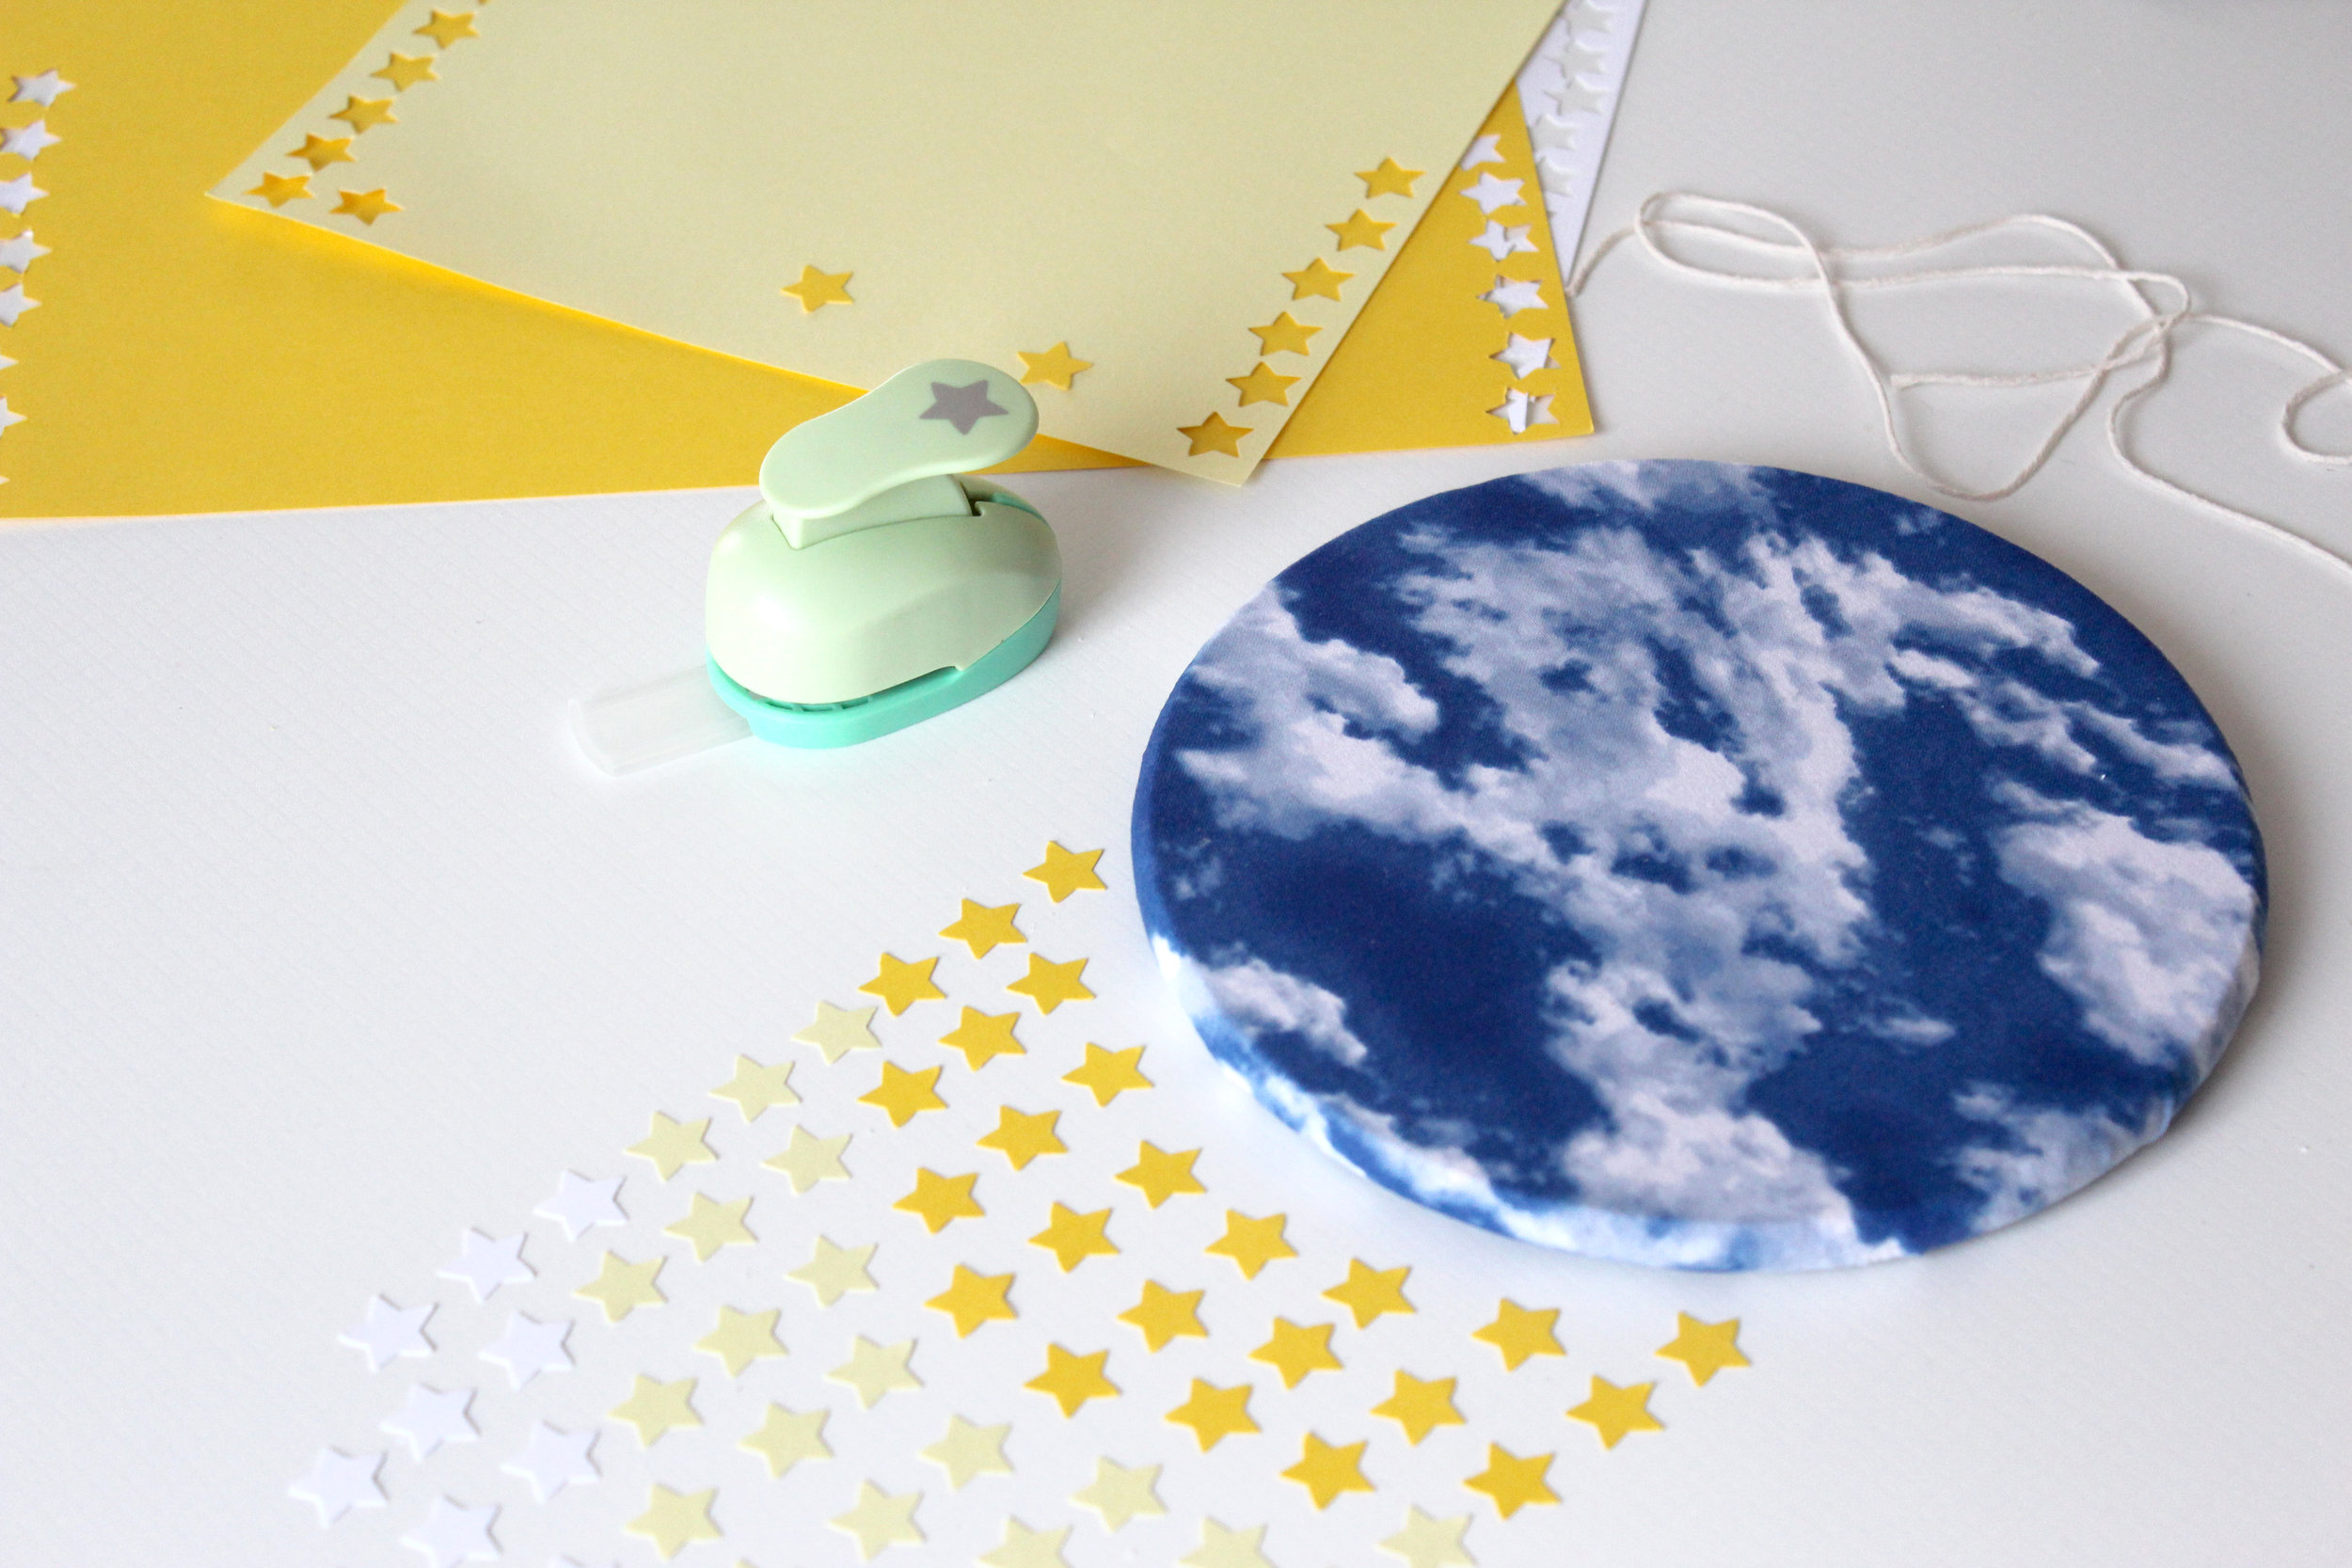
materials for cork mobile.jpg

Materials

Cork circle (I got mine at Ikea)
Fabric of your choice
Colored paper
Thread

tools for cloud mobile.jpg

Tools

Paper punches
Stapler
Scissors
Glue

Steps

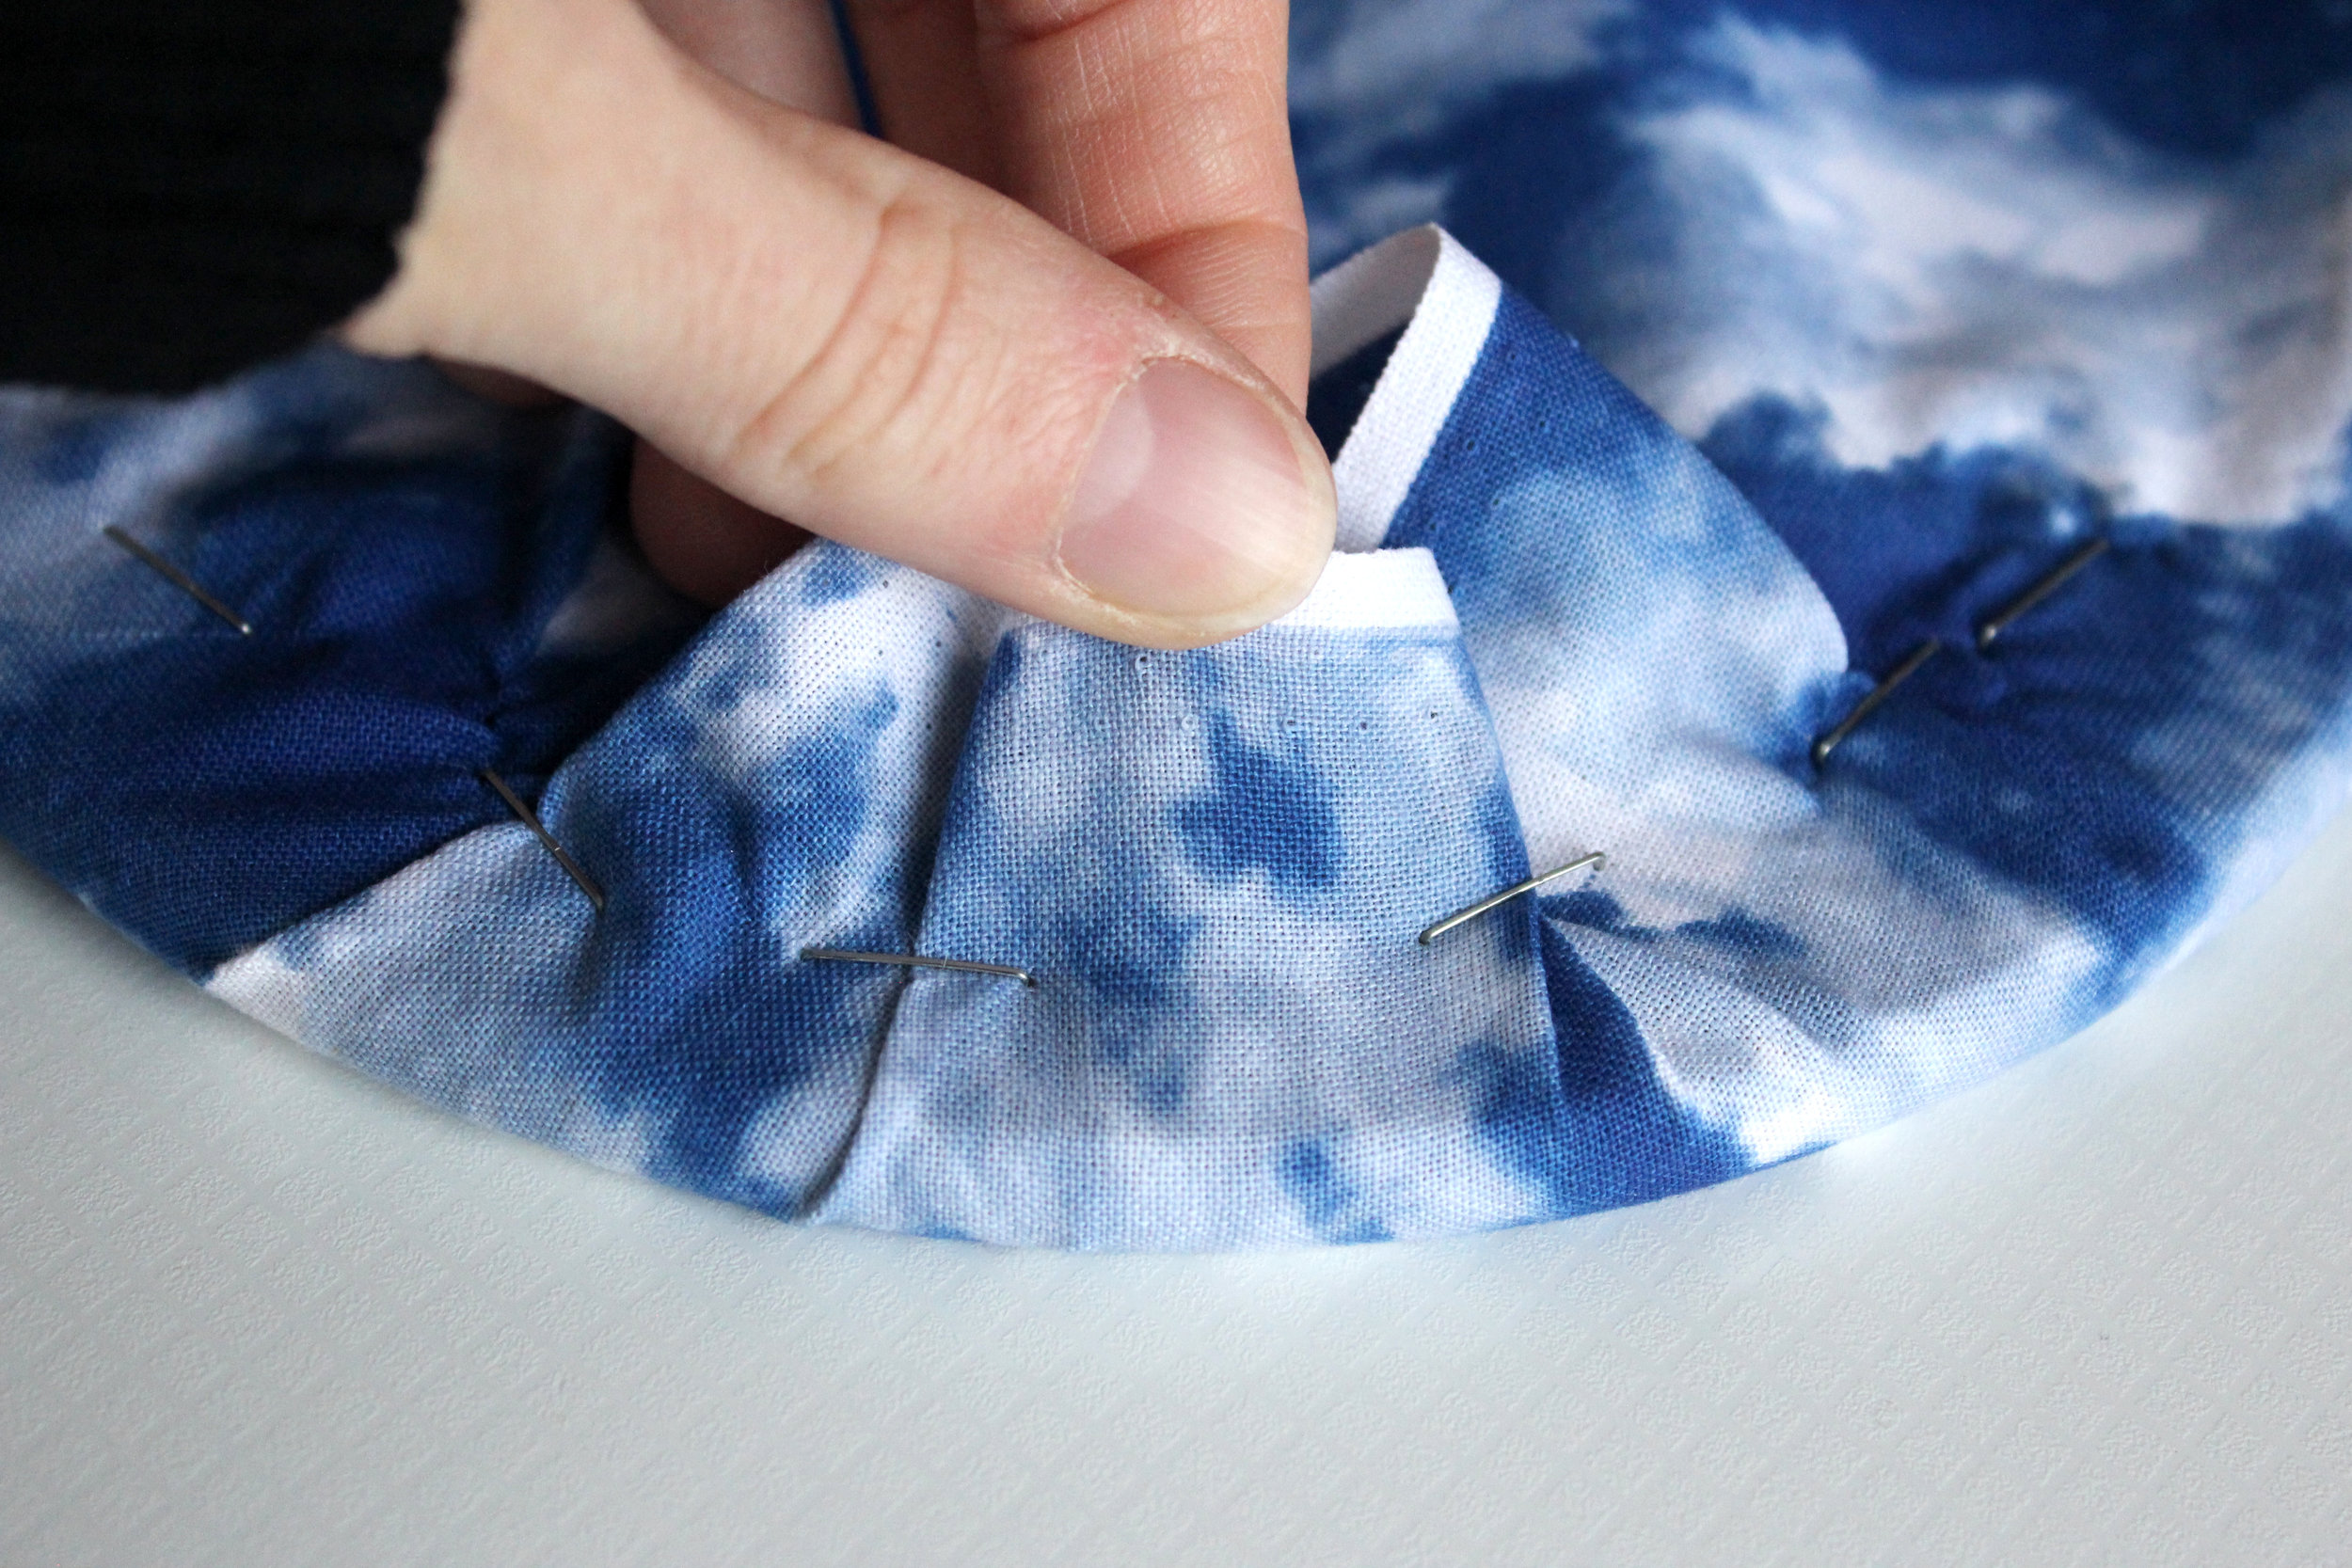
1. Cut your fabric to fit the cork board and staple it on tightly.
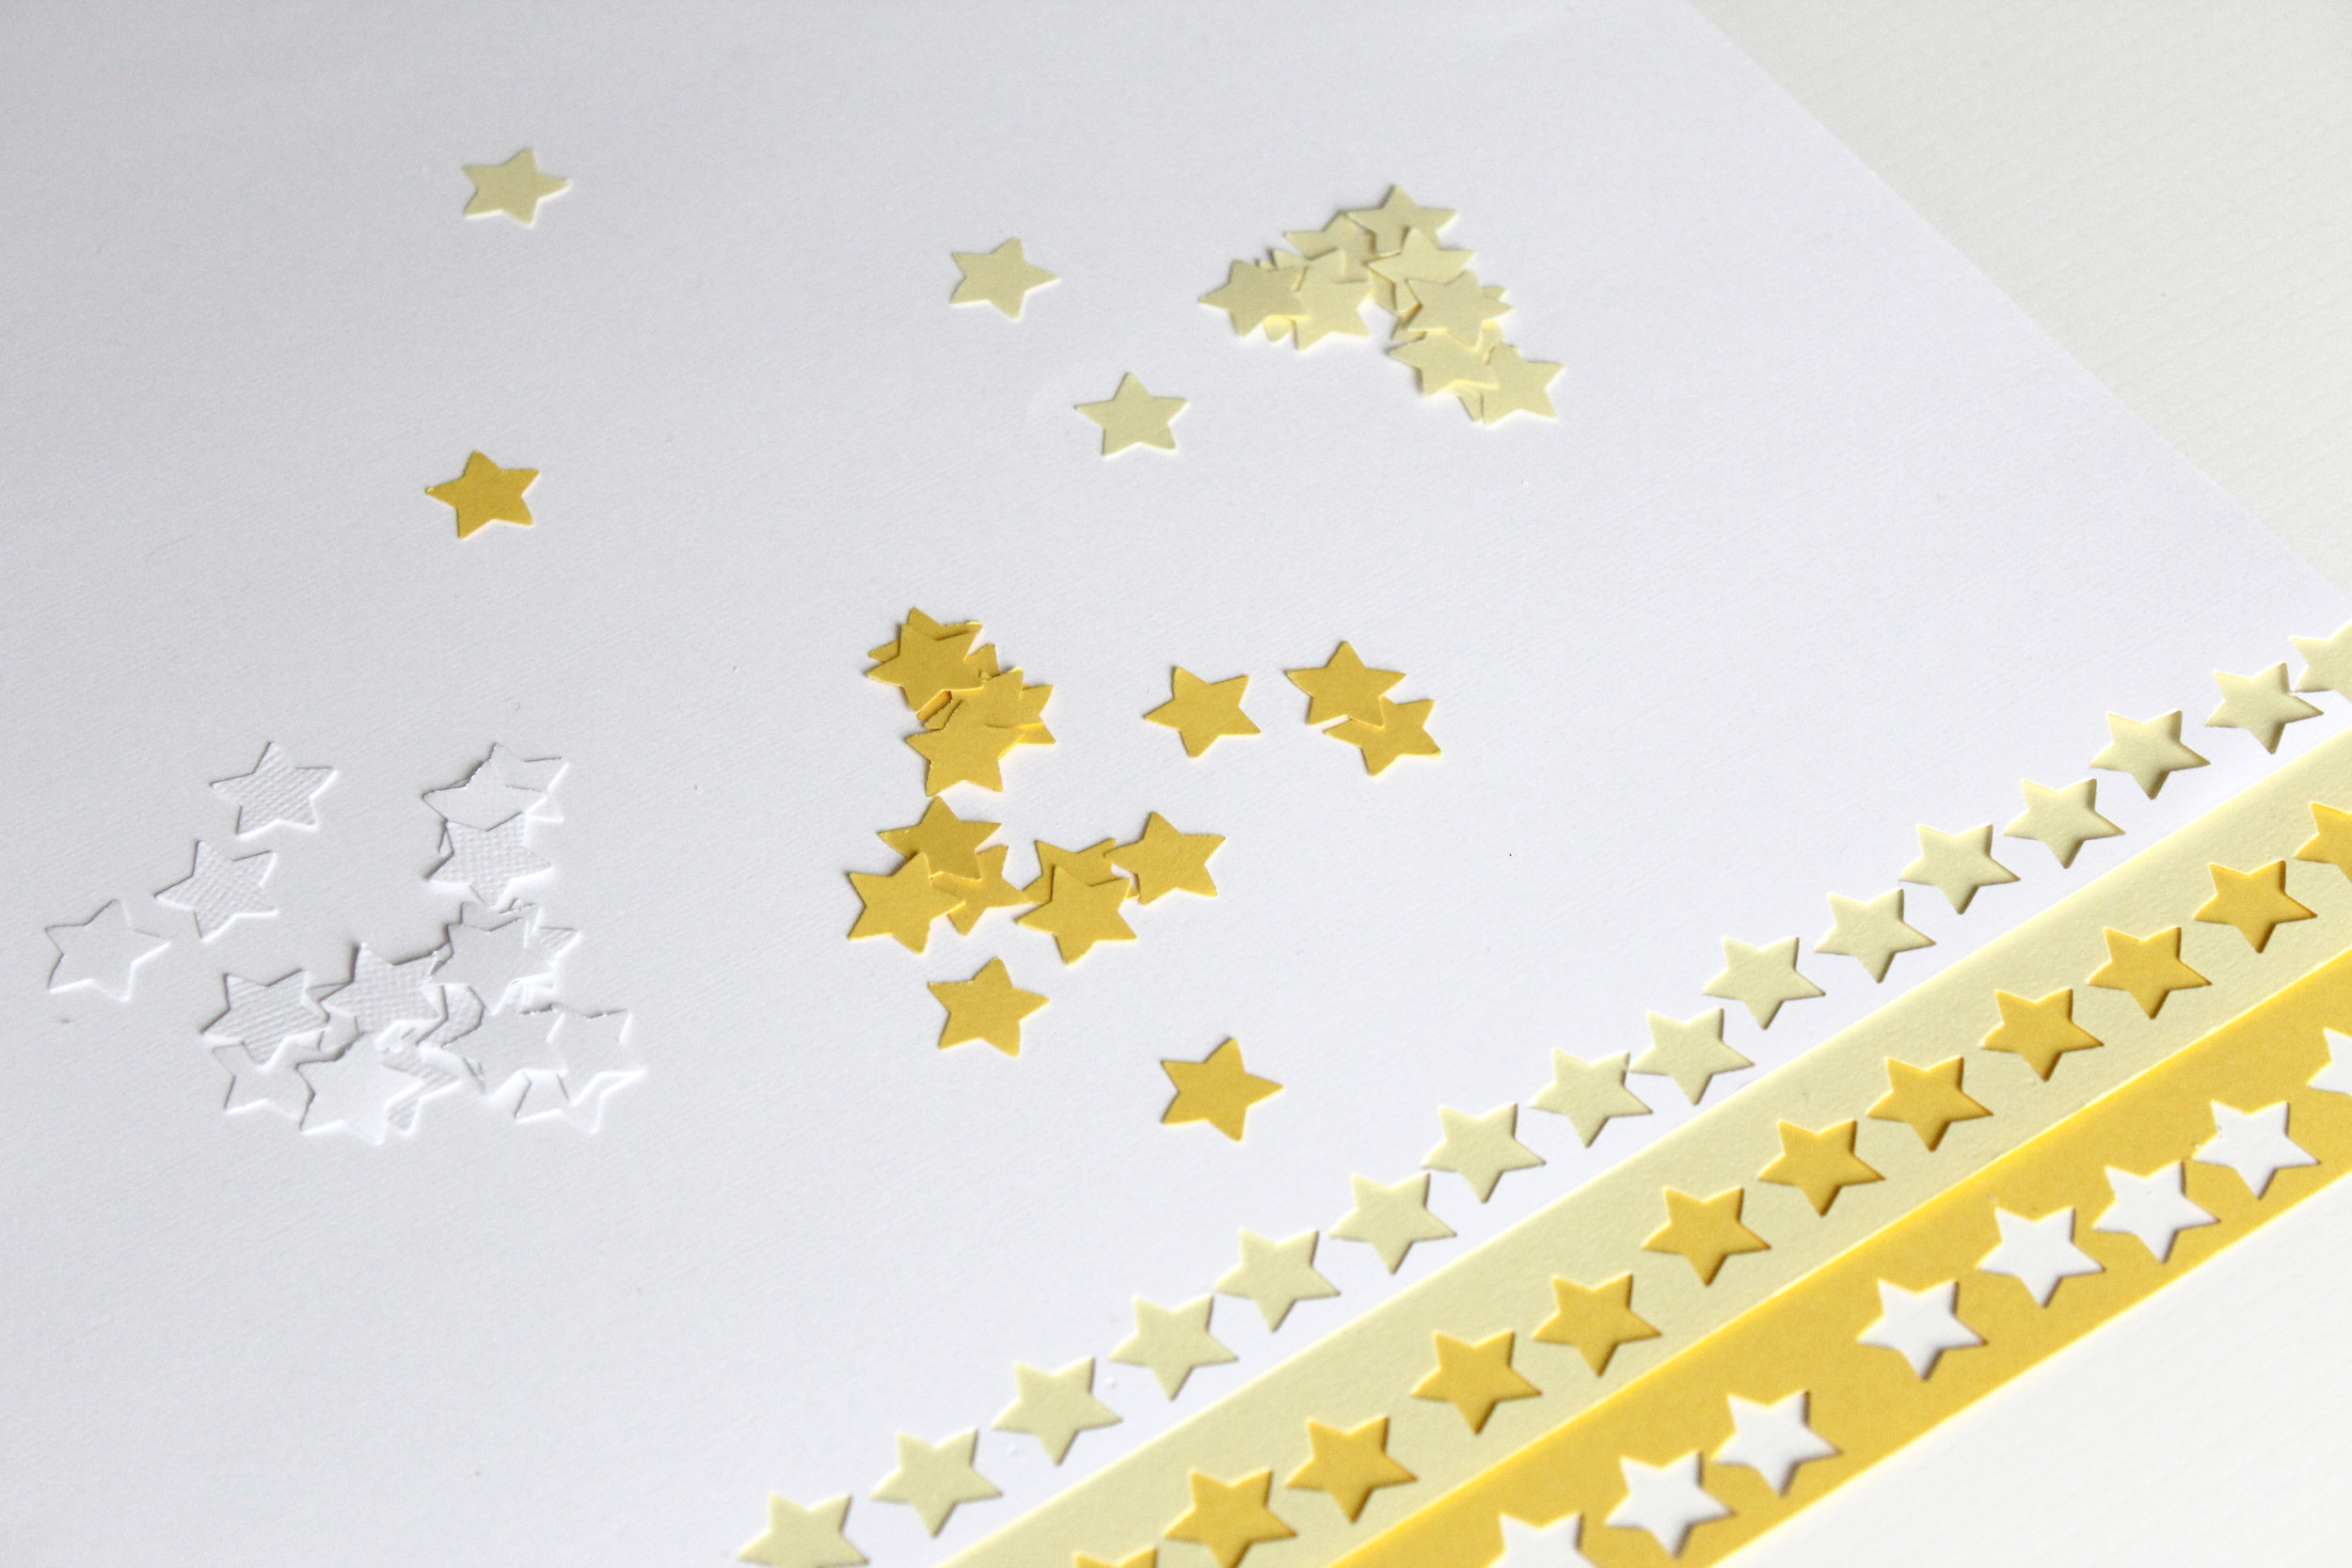
2. Using the desired paper punch, make cuttings from the colored paper of your choice.
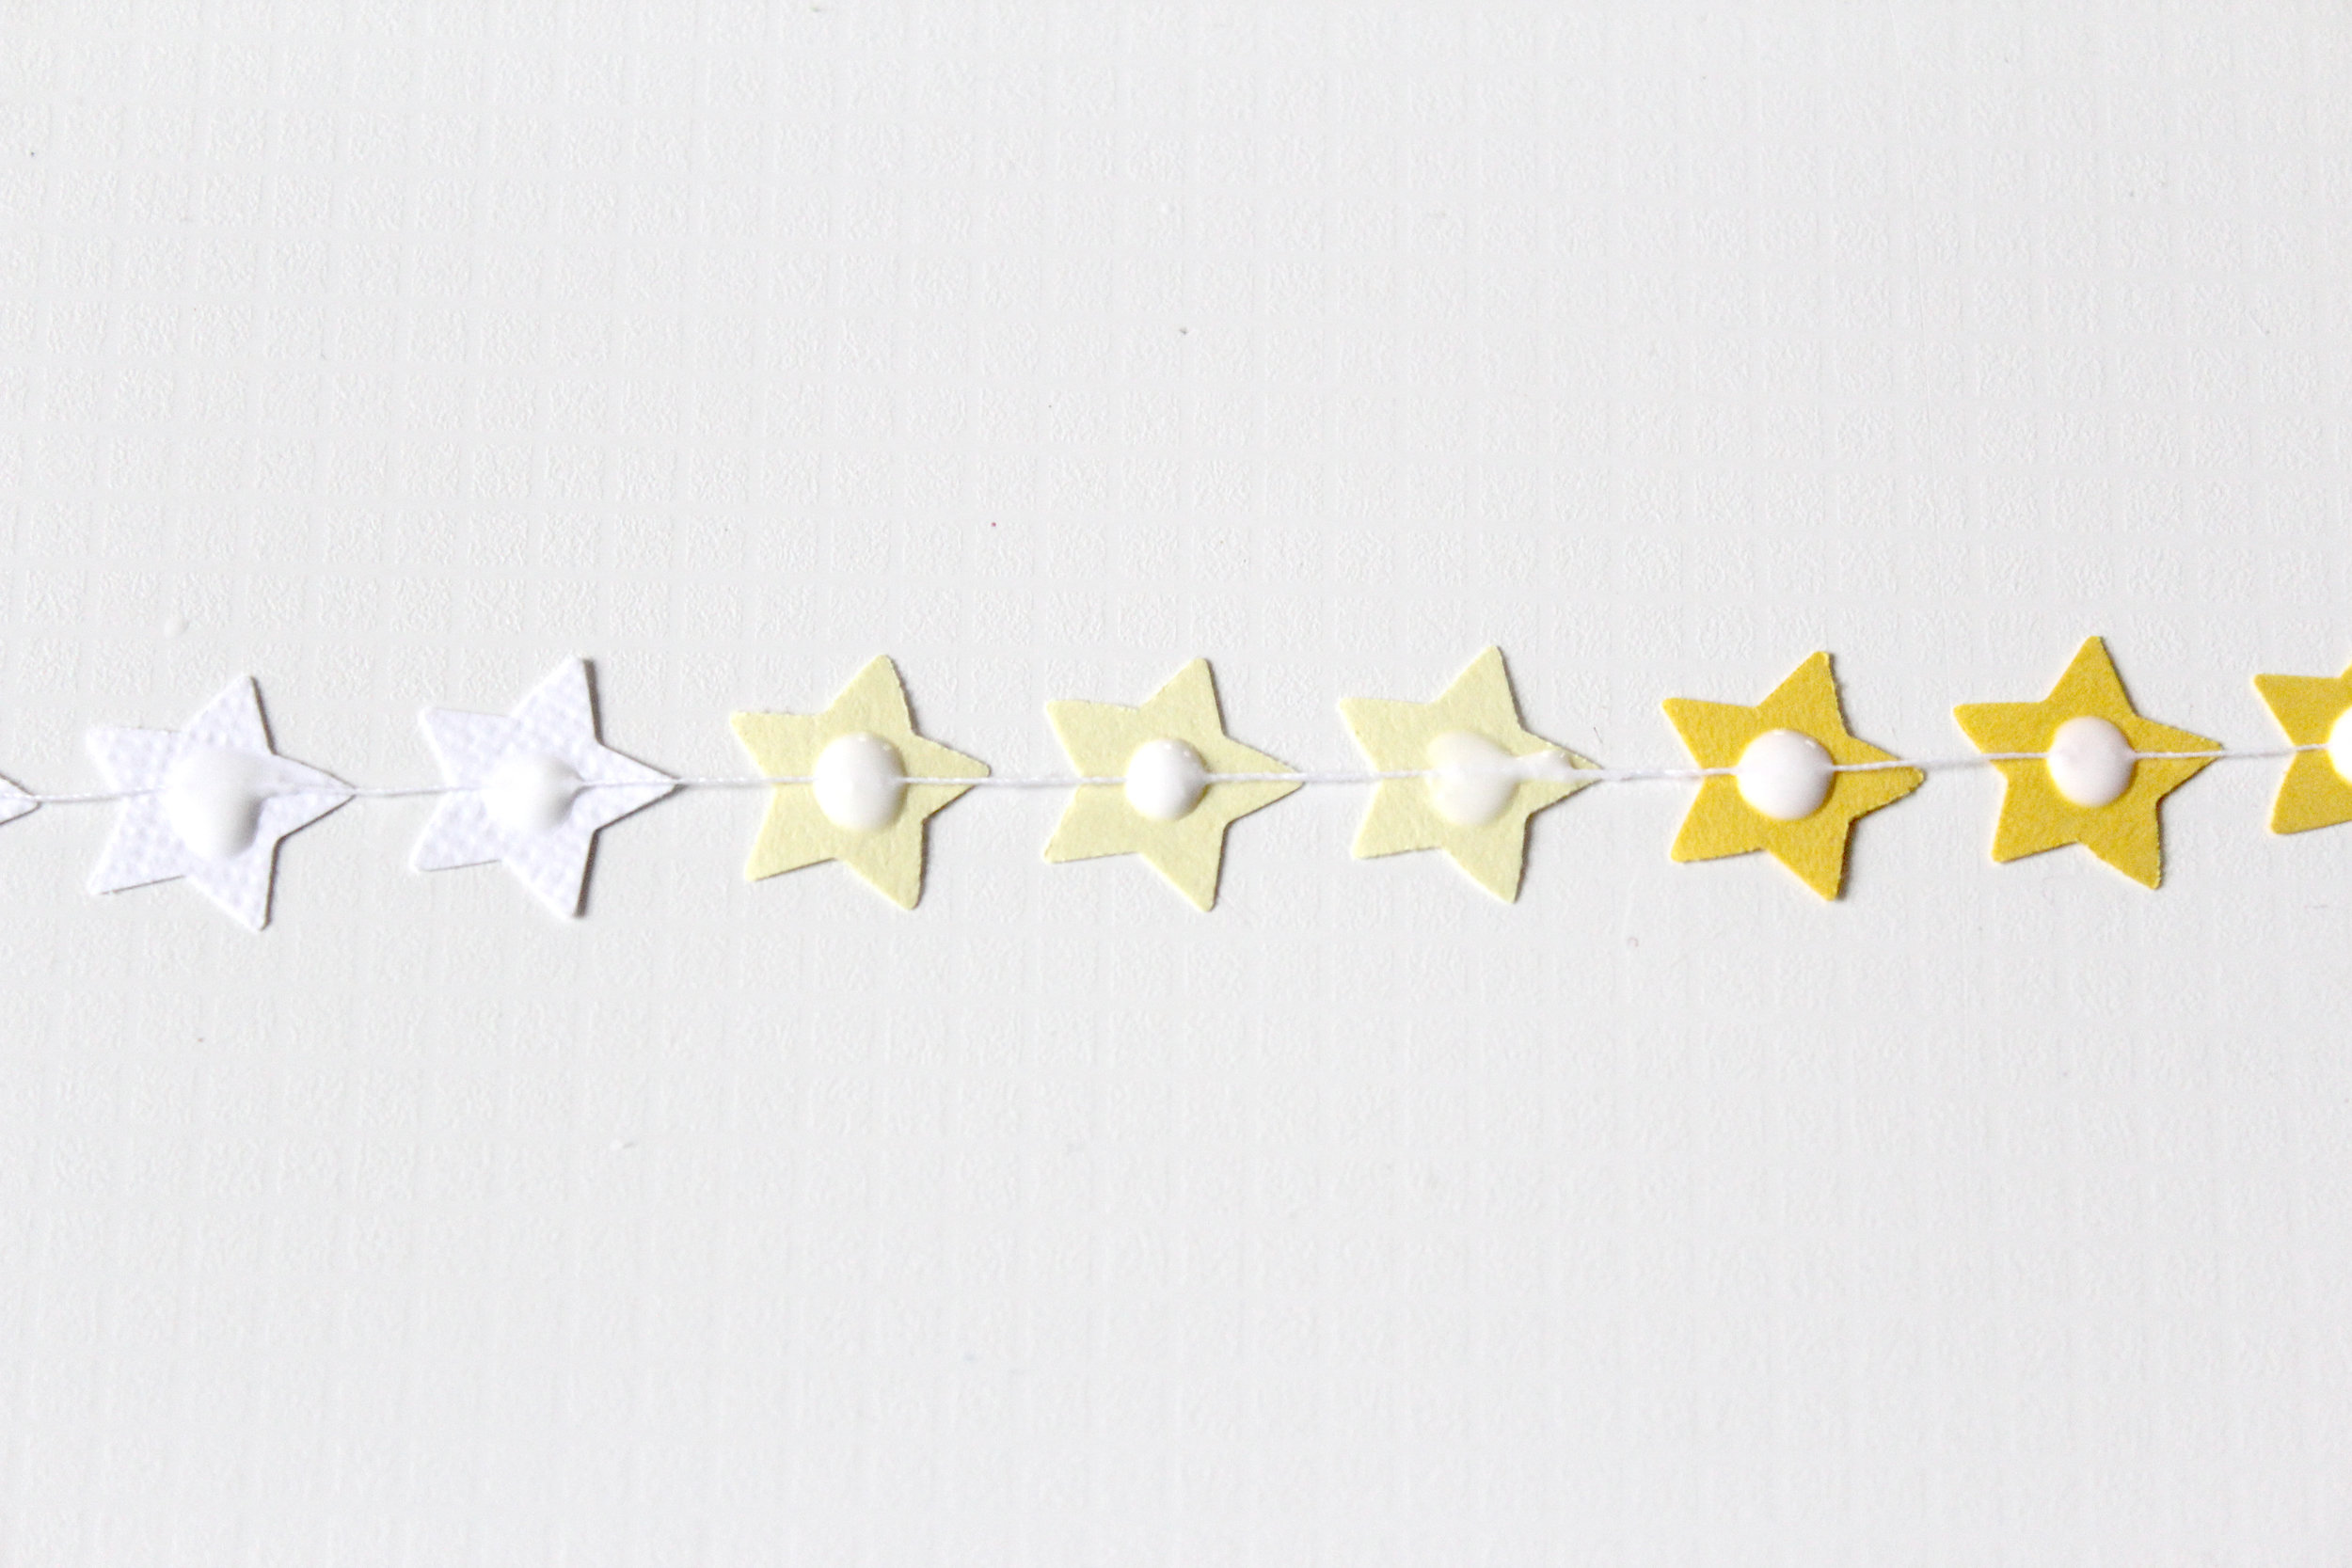
3. Glue the paper shapes together (or sew them), whatever you prefer.
4. Staple the strands of paper punches to the cork board and add a piece of rope to the top to hang it.

This was such a fun project. It's super quick and very versatile. What would you pin on your cork wall hanging?

cloud cork mobile.jpg