Nail Art: Black on Silver, Dotted

Black and silver nail art; silver base, black line, white dots.

It's been so long since I've shared any nail art! To be honest, I haven't done any in a while. I don't know why, I guess I've just been prioritizing other things lately. I miss it though, it's always fun to take a few minutes a week to have a girly moment.

For this nail art I didn't really plan anything. I just picked a random color and painted my nails and went from there. It's always fun to experiment without a plan to see what you can come up with. It kind of forces your brain to be creative. By doing so, you learn more about yourself and your process.

Showing off my pretty black on silver nail art with white dots while holding a flower pot.

In any case, I've been really busy lately, we're going to Mexico in a few weeks to visit family and I've been planning everything we need to bring. It's the first time we're going out of the country since we discovered our son is allergic to eggs. I'm not sure if I should bring food like bread and noodles with us. Stuff I know could be hard to find without eggs...

I can't wait though, we planned on going to the beach! It'll be our kids' first time so we're super excited to see their reaction and show them a whole new bunch of things; digging holes, building castles, getting buried in the sand... you know, the usual. :) Until then, I'm going to be working in my newly painted office and doing pretty Easter crafts.

You'll have to excuse my hands in this tutorial, they're so so so dry. The winter's being particularly difficult and I've been washing my hands like crazy to not catch any viruses before we leave on vacation. I also have been neglecting moisturizing... shame on me!

So yea, here's my super dry hands with pretty simple nail art. Lol. Enjoy!


MATERIALS

Silver nail polish
Black nail polish
White nail art pen
Top coat

Materials for black on silver nail art; black and silver nail polish, white nail art pen, top coat polish.


STEPS

1. I applied 2 coats of silver nail polish. I do this on all my nails to give it a bit of time to dry before step 2.

2. Using the brush the polish came with, I made a brush width line down the center of each nail. Don't worry if it's not exactly straight. When I do this, I don't usually wait until the base polish is dry, even if it's still a bit damp I keep going.

3. With the white nail art pen I made little dots in a straight line right in the middle of the black stripe I just made. Again, you don't really need to wait until the previous step is dry.

4. Apply top coat and that's it! I use seche vite.

Apply silver top coat.
Paint thick black line in the middle of the nails.
Paint little dots on the thick black line using a white nail art pen.
Pretty nail art. Super simple, thick black lines over silver base coat with little white dots. A fun afternoon mommy date activity. Click through for tutorial.

My 5 Basic Pregnancy Must-Haves

5 things you need during pregnancy.

Not too long ago, I decided to start sharing my pregnancy and motherhood experiences:

Today, I wanted to share 5 things which were a must for me during both of my pregnancies. I'm well aware that each pregnancy is different, and I'm not a doctor, but these are things that helped me during both of mine, so I thought I would pass the information along. It never hurts to share, right? :)

My 5 pregnancy must haves.

SNACKS

For me, this was an absolute must. In the beginning, I felt so sick and bloated that I was worried eating would make me feel worse. It didn't completely make the nausea disappear, but it did help a lot. I could only eat bland tasting foods like crackers and nuts, yogurt, stuff like that, and it had to be in small continuous portions.


COMFORTABLE CLOTHES

With all the body changes, comfort was super important for me. At least, as much comfort as possible. I wore lose stretchy clothes (like leggins, long tank tops and cardigans), flat shoes and sport bras. What I love most about all of these items is that you can use them before, during and after pregnancy. Saving money is important right?


PRENATAL VITAMINS

This is a basic item during pregnancy. My OBGYN recommended I take some to help me deliver all the necessary nutrients to my growing baby. I never say no to helping my baby grow safe and strong!


EXTRA PILLOWS

I heard a lot of hype about body pillow but they didn't work for me. I always ended up very uncomfortable. What I did find comfortable though, was having lots of pillows around me. One between my legs, one under my head, hugging one, and one in my back. Everyone is different so play around to see what works best for you. Essentially, this helps keep your spine straight and for me, it also helped with lower back pain.


TUMMY BUTTER

I'm sure everyone knows about stretch marks. The bonus question is how to avoid them. Is it even possible? I was lucky and didn't get any during either of my pregnancies. I used Palmer's Cocoa Butter Formula and loved it. It smells delicious and feels rich on your skin. I also used organic coconut oil. Even if it doesn't help with stretch marks, you can always ask your loved one to give you and baby a nice massage!

What kind of things helped you during your pregnancy?

How To Do Hand Lettering, The Easy Way

Hand lettering DIY tutorial. How to make your own scripted letters, the easy way. Click through to find out how. Video included!

Hand lettering is a beautiful art and a refreshing way to express yourself. Tweet this.

I've been having a lot of fun experimenting with hand lettering lately. I've seen so many gorgeous prints on Etsy, Pinterest and Instagram that it inspired me to try. I've always loved calligraphy, but I never thought of turning it into art until recently.

Just to give you an idea of how different hand lettering can be from one person to another, here are a few examples I found on the Creative Market (Heart & Soul, Rushistly, Wonder, Snowberry, Hello Sunshine).

I posted a picture on Instagram a few days ago and my friend Heather from The Arbitrary Fox asked me how I made it so I thought it would be fun to make a little video of my process.

Tools

Pencil
Eraser
Paper
Liner
Felt

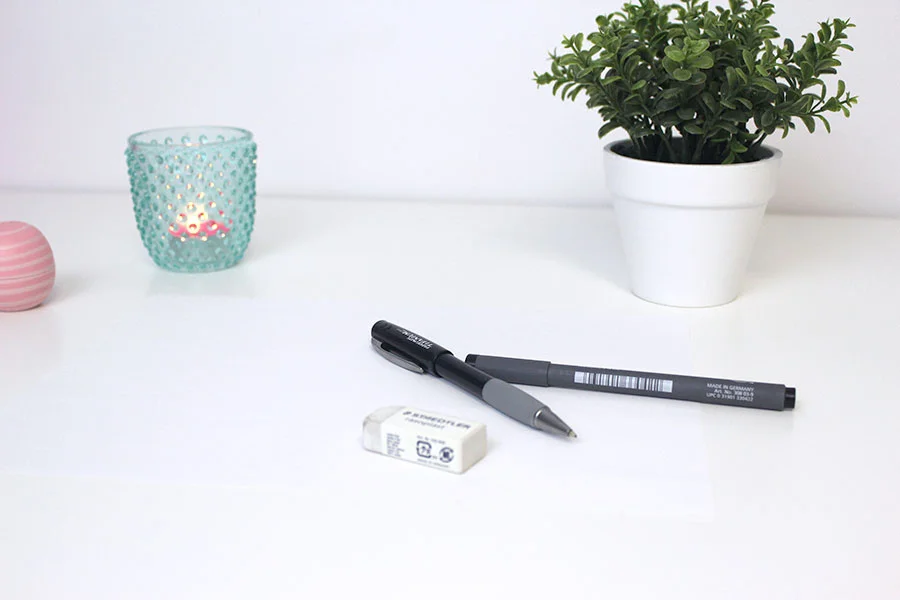
Basic hand lettering tools.

One of the things I love the most about hand lettering is that you can do it anywhere. All you need is a piece of paper and a pencil. Of course, you can use any tool you like; watercolors, felts, markers, crayons... anything goes to make pretty hand lettering art. For the basic instructions to my basic hand lettering technique have a look at my video. I hope you like it!

A short video explaining how to do hand lettering the easy way. Learn how to make pretty signs for special occasions using your own hand writing. You can also use this technique to make beautiful prints to decorate your home. http://xfallenmoon.blogspot.com http://instagram.com/xfallenmoon http://pinterest.com/xfallenmoon/ https://twitter.com/xfallenmoon

I really enjoy making videos but man do they take a long time! And why do they always turn out yellow-ish when I've got 3 studio lights pointing at me and the walls are white? Anyone have tips for filming quality videos?

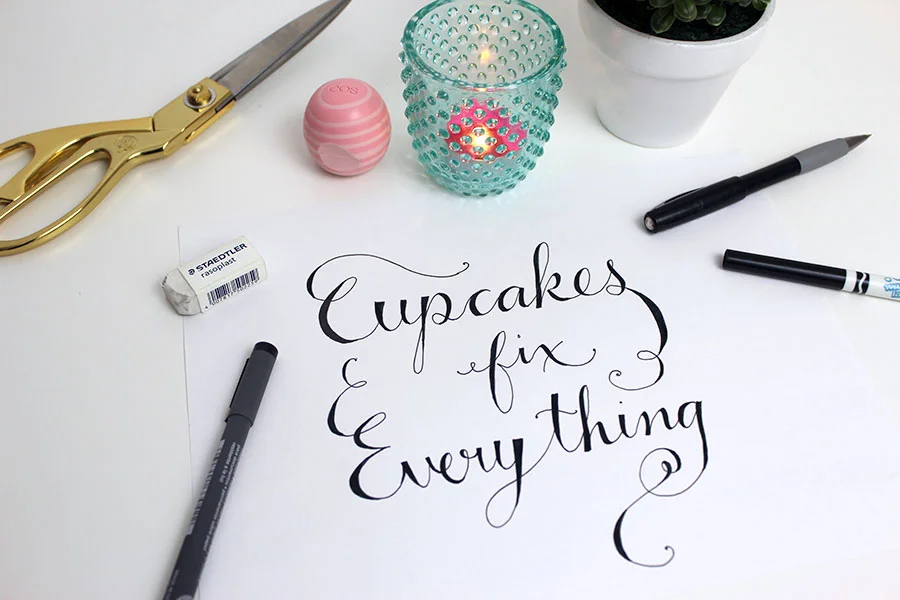
Easy hand lettering technique.

Have you ever tried hand lettering before? Do you like it? What is your hand lettering style? Do you like box letters? Cursive? Let me know by commenting bellow or send me a picture of your project! I'd love to see it. :D